

Ever tried to play a game on BlueStacks only to have it freeze, stutter, or run painfully slow? It’s frustrating you installed the emulator to enjoy smooth Android gameplay on your PC, but instead, you’re stuck with annoying performance issues. If BlueStacks lag slow problems are driving you crazy, you’re definitely not the only one.
The good news? This post is all about helping you fix it. I’ll walk you through the exact steps to speed up BlueStacks, reduce lag, and get things running the way they should. Whether you’re a casual user or a mobile gamer, these tips are easy to follow and actually work.
Adjusting the Performance Settings
To fix lag or slow performance in BlueStacks, you can tweak a few settings within the app. Start by clicking the Settings (gear) icon on the right-hand toolbar, then go to the Performance tab.
First, reduce the frame rate to 30 FPS and restart BlueStacks. If it’s still lagging, head to the Display tab and lower the resolution to 1280×720 to reduce GPU strain.
Still having issues Go to the Graphics tab and switch the Graphics Renderer to OpenGL, which works better on low-end PCs. Be sure to hit Save Changes and restart the app each time for the settings to take effect.
Windows Optimizations
Besides adjusting BlueStacks settings, you can also improve performance by making changes on your Windows PC. These Windows optimizations are known to help reduce lag and delay, and many users find them effective. The idea is that fixing things outside BlueStacks can still make the emulator run smoother.
Task Manager Settings
To make BlueStacks run better, open Task Manager and look for BlueStacks in the Details tab. Once you find it, right-click the process and set the priority to High or Real Time so your computer gives it more CPU power. Also, close any unnecessary background apps to free up system resources.
Graphic Card Drivers Updation
If you’re still dealing with performance issues, there’s a good chance your graphics card drivers are outdated. Old drivers can cause lag, glitches, and poor performance in BlueStacks and other apps.
To fix this, find out the name of your graphics card and search online for the latest drivers. Just make sure you download them from the official website or a trusted source to avoid any security risks.
How I Fixed Lag In BlueStacks
Increasing RAM and CPU cores in BlueStacks helped improve performance from 2GB RAM and 2 cores to 4GB RAM and 4 cores significantly boosted FPS in games like Call of Duty: Mobile. Turning off Hardware Acceleration gave another small performance boost, especially in heavier games like Diablo Immortal.
BlueStacks Support recommends using the Pie 64-bit instance to reduce lag, but many users say better results come from manually adjusting settings like RAM allocation and turning on High-Performance Mode in Windows.
How to Fix BlueStacks Lagging (permanently)
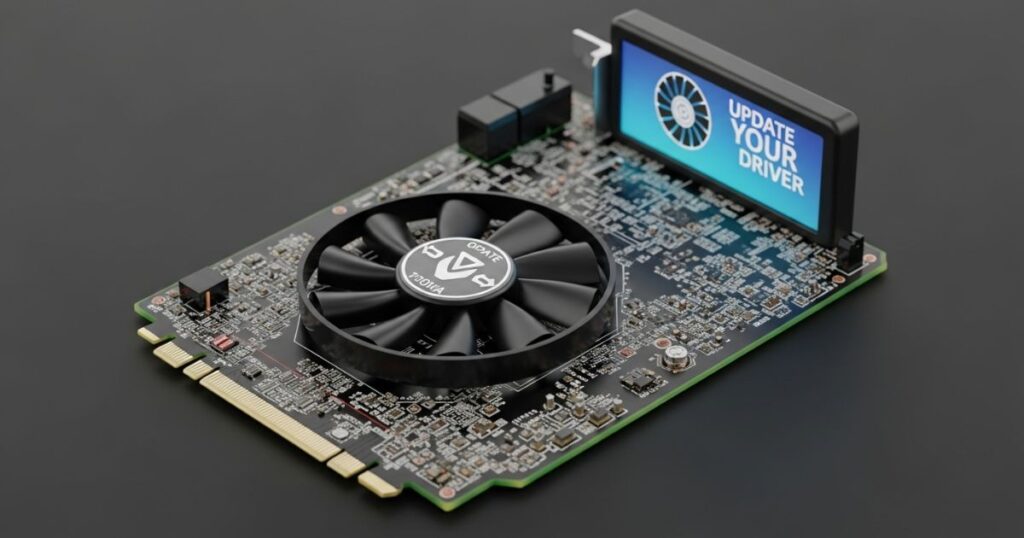
Fix 1: Graphics Driver Update
Keeping your graphics drivers updated is important for smoother performance on BlueStacks. Outdated drivers can cause lag or crashes, so it’s a good idea to regularly check and download the latest versions from the official Intel or Nvidia websites for both your integrated and dedicated GPUs.
Fix 2: BIOS/UEFI Update
Updating your BIOS or UEFI is a helpful way to improve system stability and fix hidden issues that might cause bluestacks lag slow problems. Manufacturers often release firmware updates that boost performance and fix compatibility bugs, so staying updated can make a real difference.
Fix 3: Power Settings
Switching your laptop to high-performance mode in the power settings can help reduce lag. By default, Windows tries to save power, which limits how much CPU and GPU power is used. This can slow down BlueStacks or cause performance issues. Using high-performance mode gives your system more power to run apps smoothly and helps avoid performance throttling.
Fix 4: Background Processes
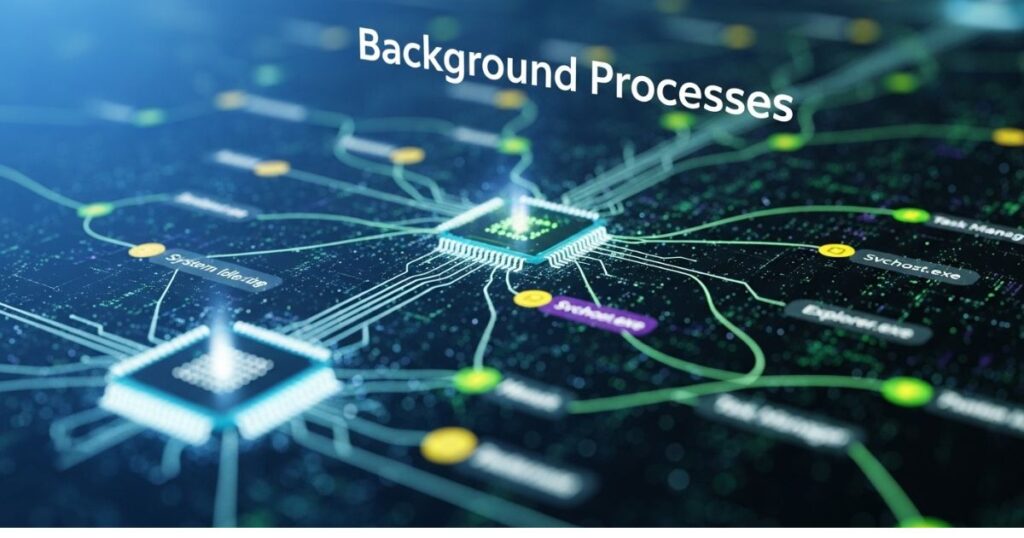
Before using BlueStacks, it’s important to close apps running in the background. These background processes can use up a lot of your CPU and GPU power, which slows down BlueStacks. Just ending a few unnecessary tasks can noticeably improve performance during gaming or regular use.
Fix 5: Compatibility Mode
If BlueStacks isn’t working properly, try running it in compatibility mode. Just right-click the BlueStacks icon, go to Properties > Compatibility, and adjust the settings there. Many users, including the author, have found this to be a quick and effective way to fix performance or launch issues.
Fix 6: Disable Full-Screen Optimization
Some users found that turning off Full-Screen Optimization for the BlueStacks app made it run smoother. Although this Windows feature is meant to improve performance, it can sometimes cause problems. Disabling it through the Compatibility tab helped reduce lag and improve stability for some people.
Fix 7: Check for Game Updates
Keeping your games updated is important because developers often release updates to fix bugs and improve performance. Many users have noticed smoother gameplay and fewer issues after updating their games. To check for updates in BlueStacks, open the Play Store, go to “My Apps & Games,” and tap “Update All.” This simple step can fix lag or frame drops caused by older game versions.
Identifying the Root Cause of Lag
BlueStacks lag is often caused by your computer struggling to give the emulator enough power to run smoothly. Things like not enough RAM, old graphics drivers, or missing virtualization support can slow everything down. Plus, if you’ve got too many apps or background tasks running, they can eat up your system’s memory and processing power, making the lag even worse.
Key causes of lag:
- Low RAM allocation to BlueStacks
- Outdated graphics drivers (especially with OpenGL)
- Virtualization not enabled in BIOS
- Too many background apps using CPU and memory
Managing System Resources for Reducing Bluestacks Lag
One of the easiest ways to reduce BlueStacks lag is by managing your system resources properly. When too many programs are running at once, it puts pressure on your CPU and memory, which can slow down the emulator. Cleaning up what’s running in the background and keeping your system optimized helps BlueStacks perform much better.
Key takeaways:
- Close unnecessary background programs to free up RAM and CPU.
- Disable startup programs that load automatically when your PC starts.
- Update your graphics drivers for better performance and stability.
- If you’re using an HDD, defragment it to improve overall system speed.
Method 1. Update Your Graphics Card Driver
If your BlueStacks is lagging or running slow, an outdated or faulty graphics card driver could be the reason. Many gaming and emulator issues, like crashes or FPS drops, are caused by this.
To fix it, open Device Manager (press Win + R, type devmgmt.msc, and hit Enter). Then, go to Display adapters, right-click your graphics driver, and choose Update driver. Select Search automatically for updated driver software and follow the instructions. After updating, restart your PC to check if performance improves.
Method 2. Add More RAM to BlueStacks
One common reason for BlueStacks lag slow issues is not having enough RAM allocated to the app. Increasing the RAM can help boost performance and reduce lag.
To do this, open BlueStacks and go to Settings (top-right corner), then select Settings again in the menu. Under the Engine tab, you’ll find a memory slider just drag it to the right to give BlueStacks more RAM. After adjusting it, restart the app to see if the lag improves.
Part 1: How to Fix BlueStacks Lag
Set performance
To reduce lag in BlueStacks, you need to adjust a few key performance settings. Start by lowering the display resolution and set the DPI to 160 or 240 this helps the emulator run smoother.
Next, go to the Engine settings and switch to compatibility mode by using either Legacy mode or DirectX. This can improve stability, especially on older or lower-end PCs.
Then, adjust the frame rate (FPS) to 60 FPS if your PC can handle it. If you’re using a low-spec system, choose a lower FPS to avoid stutters.
Lastly, in the Game Settings, reduce the in-game resolution to HD or FHD to balance visuals and performance.
Clear memory
If BlueStacks is lagging due to high memory usage, clearing the memory can help improve performance. This process frees up space so your current game or app runs smoother. You can do this in two quick ways: press Ctrl + Shift + T or go to User data > Free up space from the menu. Both options instantly clear memory and make BlueStacks run better.
Part 2: A Great Alternative for BlueStacks
iMyFone MirrorTo is introduced as a strong alternative to BlueStacks for users who want to play mobile games or use Android/iOS apps on a PC. Unlike traditional emulators, it mirrors your phone’s screen to your computer in high quality, with little to no delay, using Wi-Fi or USB.
The tool stands out for letting you control your phone from your PC using your mouse and keyboard making gaming and app navigation smoother. It also supports screen recording, screenshots, and even live streaming, which is great for content creators or online meetings. Plus, it’s useful for running apps like Messenger directly on your PC.
iMyFone MirrorTo
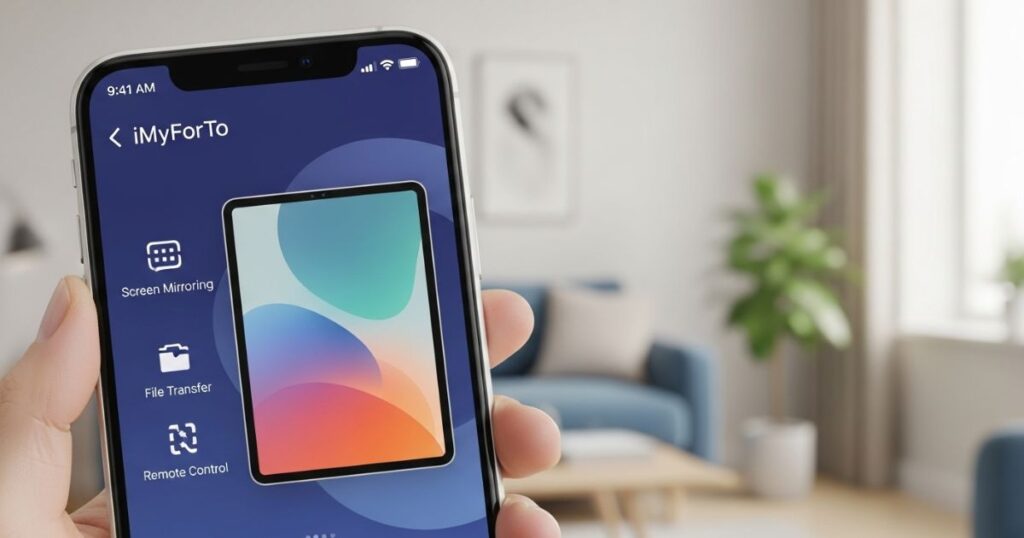
iMyFone Mirror To is a screen mirroring app that offers a smooth and lag-free way to control your Android or iOS device from a Windows or Mac. Unlike situations where BlueStacks lag slow becomes a problem, Mirror To lets you stream your phone screen in high definition with no noticeable delay using either Wi-Fi or USB.
It’s especially useful for playing mobile games on PC with mouse and keyboard support, capturing gameplay, and streaming during live events or meetings. You can also use apps like Messenger on your computer just as you would on your phone, without any lag issues.
Advantages of iMyFone MirrorTo over BlueStacks
iMyFone Mirror To runs more smoothly and reliably than BlueStacks. Users often face problems like lag, crashes, or failure to launch with BlueStacks, while MirrorTo offers a stable experience with high-quality display (up to 2K resolution).
It’s more secure and safer for your data. Unlike emulators, which may be banned or flagged as illegal risking your saved game data MirrorTo avoids that risk and keeps your data private and safe.
It puts less load on your computer. BlueStacks needs more resources because it installs and runs games directly on your PC. MirrorTo only mirrors your phone screen, so it uses fewer system resources.
There’s no need to download games on your computer. As long as your game is installed on your phone or tablet, you can play it on your PC screen with MirrorTo, and your progress stays synced with your mobile device.
Read More: Technology Falcon
Problem #1: “Incompatible Windows Settings” error on BlueStacks 5
You might see the “Incompatible Windows settings” error when using BlueStacks 5 Nougat 32-bit or Android 11 Beta, especially if Hyper-V is enabled on your Windows system. Hyper-V is a Windows feature that can conflict with certain BlueStacks versions.
To fix this, you have two main options:
- Switch to a compatible BlueStacks version, like Pie 64-bit or Nougat 64-bit, which work with Hyper-V.
- Or, disable Hyper-V and related features (like Windows Sandbox, Virtual Machine Platform, etc.) through Control Panel or Command Prompt, then restart your PC.
Some users may also need to turn off Memory Integrity under Windows Security settings. However, since this feature protects against malware, you should only disable it if you’re comfortable doing so.
Lastly, BlueStacks offers an .exe file that helps disable Hyper-V quickly if you prefer not to do it manually.
Problem #2: Error 2318 when uninstalling BlueStacks
Error 2318 usually appears when you’re trying to uninstall BlueStacks and something goes wrong most often because of corrupted registry keys. This makes it hard to remove the app using the normal Windows uninstallation process.
To fix it, you can try three main solutions:
- Use the BlueStacks Uninstaller from the installation folder instead of the standard Windows method.
- Restart the Windows Installer service using Command Prompt commands (net stop msiserver and net start msiserver).
- If registry issues are the cause, open Registry Editor, back up your registry, then search for and manually delete BlueStacks-related keys.
Problem #4: Hardware decoding is not available on BlueStacks
Some users find that hardware decoding is greyed out or unavailable in BlueStacks, even when they try to enable it. This feature helps your GPU (graphics card) handle textures better than your CPU, so when it’s missing, performance can suffer.
This issue often comes down to two main things: hardware compatibility and settings configuration. AMD GPU users report this problem more than NVIDIA users. It’s a good idea to contact BlueStacks support to check if your GPU supports hardware decoding.
To try fixing it yourself:
- In BlueStacks settings, go to Graphics > GPU in use, and turn on “Prefer dedicated GPU”. Restart BlueStacks after making this change.
- In Windows settings, assign HD-player.exe (the BlueStacks app) to High performance under Graphics settings, so it uses your dedicated GPU.
- Also, hardware decoding only works with OpenGL, not DirectX. Make sure OpenGL is selected as the GPU renderer and then choose “Hardware decoding” from the ASTC textures dropdown. If the GPU isn’t compatible, an error will show.
In short, check your GPU compatibility, set the right BlueStacks and Windows graphics preferences, and use OpenGL not DirectX for hardware decoding.
Problem #5: BlueStacks feels slow
If you’re dealing with BlueStacks lag slow issues, it’s often because the emulator is using too many system resources or not getting enough. BlueStacks needs proper CPU and RAM allocation to run smoothly.
You can fix this by going into the Performance settings and assigning more CPU cores and memory just don’t max everything out. Make sure Virtualization is turned on for better speed. Background apps like Chrome can also slow things down, so close anything you’re not using with Task Manager. In some cases, your antivirus may be the culprit, so check the settings to make sure it’s not interfering with BlueStacks.
Problem #7: Google Play Store login issues
Users often face problems when logging into the Google Play Store on BlueStacks. One of the most common solutions is to clear the app cache through Settings > Apps > Google Play Store > Storage.
If you’re stuck on a loading screen or get a “Couldn’t sign in” error, your antivirus software might be interfering, so you may need to adjust its settings. A black or white login screen could mean your graphics settings don’t match your system, so try changing performance mode or graphics engine in BlueStacks settings.
For authentication errors, clear the Play Store cache and remove and re-add your Google account. You can also log in using a non-Gmail email, but you must first create a Google account linked to that email.
Lastly, if you see a “This device isn’t Play Protected” error, it could be due to a custom device profile. Switch to a predefined phone profile in BlueStacks settings to fix this.
Updating Bluestacks
To fix bluestacks lag slow problems, checking for updates is a smart first step. Open BlueStacks, go to Settings, then tap About, and select Check for Updates. If there’s a new version, you’ll see a Download Update button click it to start the update process.
Once the download is done, choose Install Update, either immediately or on the next restart. After installing, relaunch BlueStacks. Many users have found that updating solves performance issues and helps reduce bluestacks lag slow right away.
End All Running Programs
If you’re dealing with bluestacks lag slow issues, background programs might be the hidden reason. Many apps run silently in the background and use up valuable memory, which can slow down BlueStacks. To fix this, press Ctrl + Shift + Esc to open Task Manager, check the memory usage, and look under Background processes. Right-click on anything you don’t need and choose End Task. This quick cleanup can help improve performance if not, there are more fixes to try next.
Read More: Technology Falcon
FAQ’s
How to fix 0 FPS in BlueStacks?
Lower the resolution and switch to a compatible graphics mode like OpenGL or DirectX.
How to improve FPS in BlueStacks?
Enable high-performance mode and allocate more CPU cores in BlueStacks settings
How to increase RAM in BlueStacks?
Go to the Performance tab in BlueStacks settings and raise the RAM allocation manually.
How to make BlueStacks less laggy?
Close background apps, update GPU drivers, and fix any bluestacks lag slow issues using Task Manager.
How to run BlueStacks smoothly?
Use virtualization, adjust FPS settings, and update to the latest version of BlueStacks.
Conclusion
Dealing with bluestacks lag slow problems can be frustrating, but small tweaks like ending background tasks can make a big difference. With the right steps, you can boost performance without upgrading your PC. Try these fixes one by one, and you’ll notice smoother, faster gameplay in no time.

I’m Rana Waseem, an SEO blogger with a passion for creating content that ranks and drives results. With a deep understanding of search engine optimization and keyword strategy, I help businesses and readers discover valuable information through well-researched, engaging blog posts. My goal is to simplify SEO for everyone while staying ahead of the latest trends in digital marketing